
DDR5 6000 Running at 4800 MT/s? How I Enabled XMP on My Gigabyte B760M DS3H AX DDR5
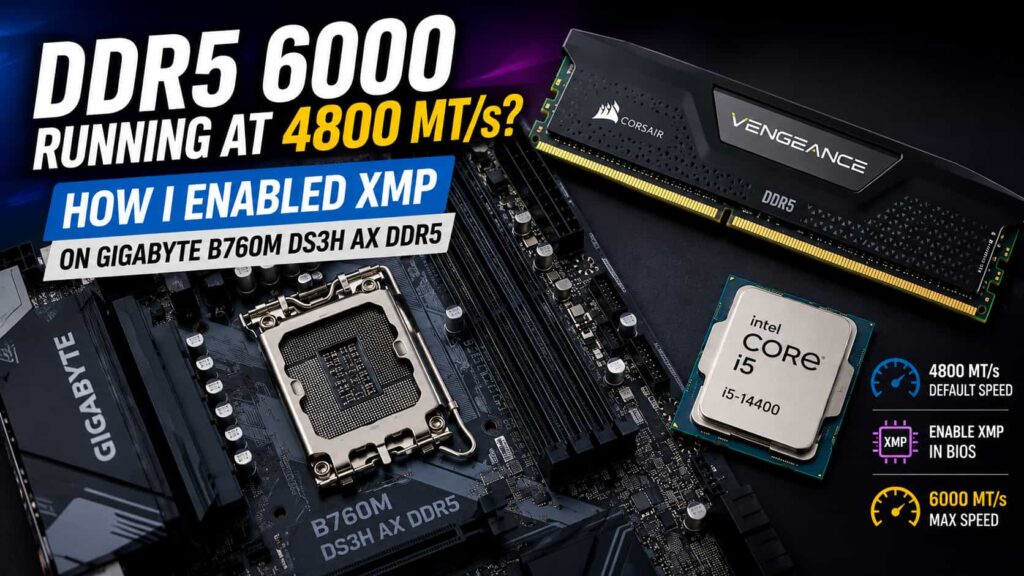
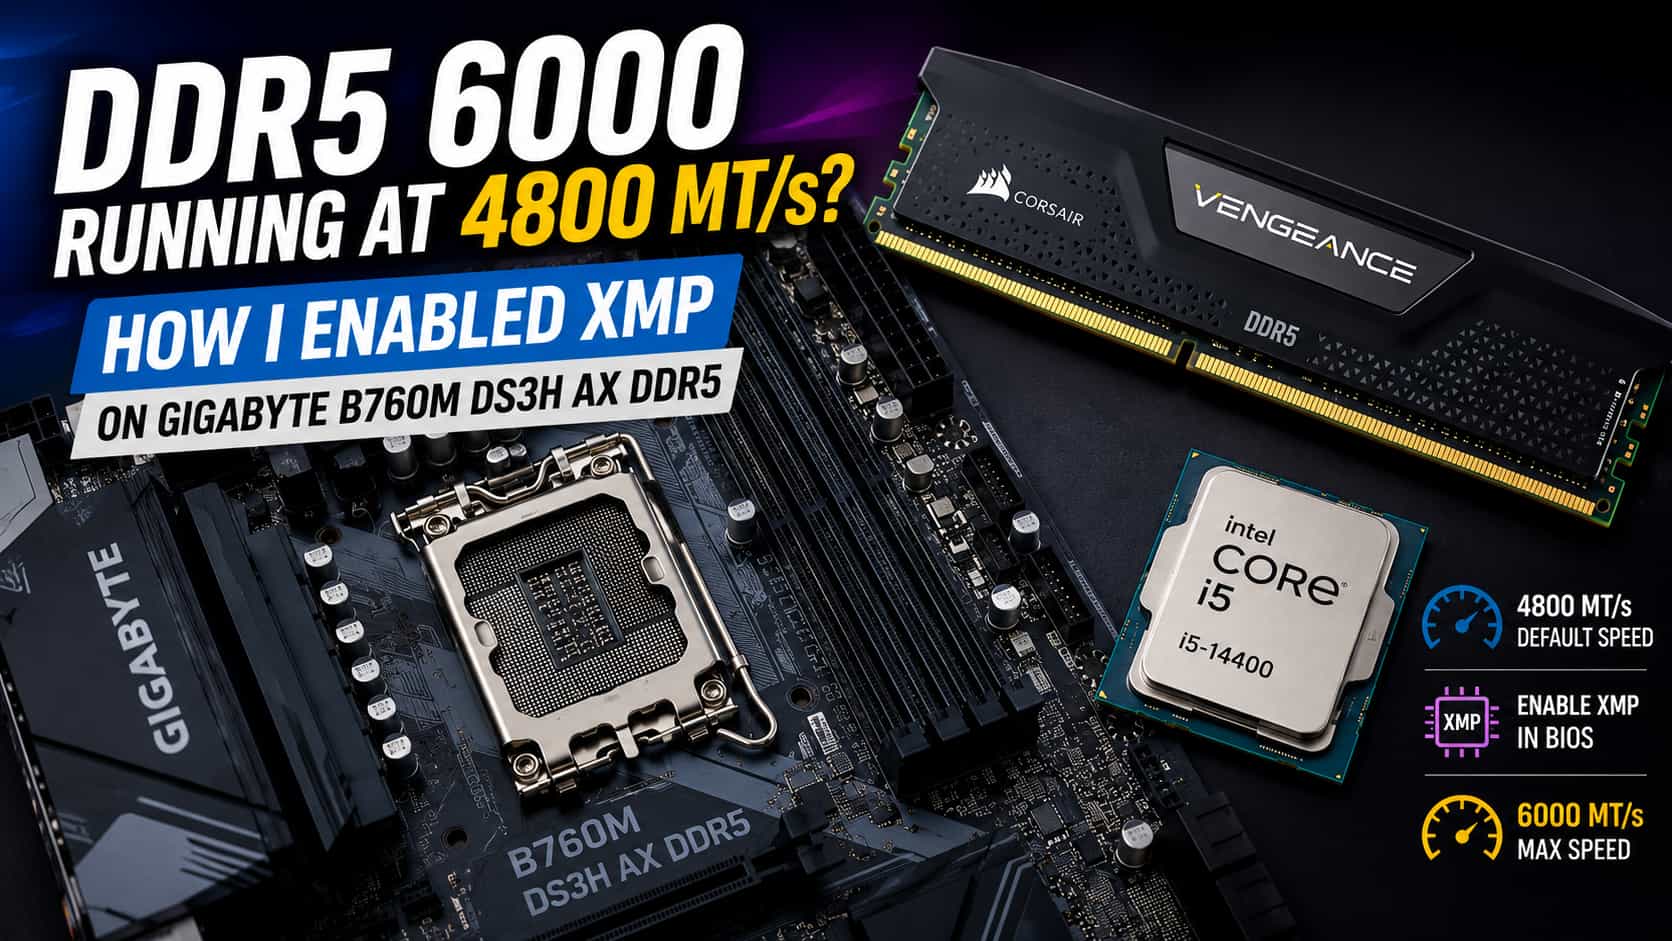
Buying a high-speed DDR5 memory kit doesn’t always mean your computer will run at the advertised speed immediately.
After upgrading my desktop with a 16GB Corsair DDR5-6000 memory module, I expected Windows to report 6000 MT/s. Instead, it showed only 4800 MT/s.
Initially, I suspected something was wrong with the RAM. However, the solution turned out to be a simple BIOS setting.
This article documents my experience and the exact steps I followed to fix it.
Key Points Covered in This Guide
🖥️ Why Upgrade Your PC?
Whether you’re a content creator, gamer, developer, or office user, everyone eventually reaches a point where the existing computer feels slow.
A modern PC upgrade offers several benefits:
- Faster boot times
- Better multitasking
- Improved application performance
- Smoother photo and video editing
- Better AI and productivity workflows
- A system that remains reliable for years
Ultimately, everyone wants a computer that responds instantly and lets them focus on work instead of waiting for the system.
🔧 Choosing the Right Components
Selecting compatible hardware is one of the most important parts of a successful PC upgrade.
Before purchasing components, consider:
- Your available budget
- Current-generation processors
- Motherboard chipset and future upgrade options
- DDR4 vs DDR5 memory
- RAM speed and capacity
- Graphics card requirements
- Storage (NVMe SSD)
- Power Supply Unit (PSU)
- Cooling and cabinet compatibility
Spending time on research before buying often saves both money and future upgrade headaches.
⚠️ Common Issues After a PC Upgrade
Once the new hardware is installed, several common questions may arise.
Typical post-upgrade issues include:
- Windows activation after motherboard replacement
- RAM running at default speed instead of advertised speed
- BIOS not opening with Delete or F2
- Enabling XMP or EXPO
- Driver installation
- BIOS updates
- Fan curve adjustments
- Secure Boot and TPM configuration
- Windows 11 compatibility
- Boot priority and SSD detection
This article focuses on one of the most common issues—DDR5 memory running below its rated speed because XMP is disabled.
My PC Configuration
| Component | Specification |
|---|---|
| Processor | Intel Core i5-14400 |
| Motherboard | Gigabyte B760M DS3H AX DDR5 |
| Memory | Corsair 16GB DDR5-6000 |
| Graphics | Dedicated Graphics Card |
| Operating System | Windows 11 Home 25H2 |
The First Surprise
After installing the memory, Windows showed:
Memory Speed: 4800 MT/s
At first glance, this looked disappointing.
The RAM box clearly mentioned 6000 MT/s, but Windows continued reporting 4800 MT/s.
Another Problem — I Couldn’t Enter the BIOS
Normally, entering the BIOS is as simple as pressing Delete or F2 during startup.
In my case, neither key worked.
Instead of wasting time repeatedly restarting the computer, I used Windows’ built-in recovery option.
Steps
Settings
↓
System
↓
Recovery
↓
Advanced Startup
↓
Restart Now
↓
Troubleshoot
↓
Advanced Options
↓
UEFI Firmware Settings
↓
Restart
This took me directly into the Gigabyte BIOS.
Finding the Real Problem
Inside the BIOS, I opened the Tweaker menu.
There I noticed:
Extreme Memory Profile (X.M.P.)

Status : Disabled
Below it were three options:
- Disabled
- XMP 1
- EXPO 1
Since my system uses an Intel Core i5-14400, the correct option was:
✅ XMP 1
Intel Users: Choose XMP
If you’re using an Intel system:
✔ Select XMP 1
Do not select EXPO.
EXPO is designed primarily for AMD Ryzen platforms.
Saving the Changes
After selecting XMP 1:
- Press F10
- Save changes
- Restart Windows
The Result
Once Windows loaded, I checked:
Settings → System → About
Memory Speed now displayed:
6000 MT/s
Problem solved.
Why This Happens
Most DDR5 memory modules initially run at the standard JEDEC speed, which is typically around 4800 MT/s.
The advertised speed (5600, 6000, 6400 MT/s, etc.) is stored in the memory’s XMP profile.
Until XMP is enabled, your motherboard will continue using the default speed.
Other BIOS Settings
Apart from enabling XMP, I left everything else unchanged.
- GIGABYTE PerfDrive – Optimization
- CPU Ratios – Auto
- CPU Voltages – Auto
- DDR5 Auto Booster – Auto
- High Bandwidth – Auto
- Low Latency – Auto
For most users, XMP alone is enough.
Lessons Learned
This small upgrade reminded me of something important.
Sometimes the hardware isn’t the problem.
Sometimes a single BIOS option makes all the difference.
It also reminded me that documenting these real experiences is valuable. What seems obvious after fixing it may save someone else hours of frustration.
That’s one of the reasons I decided to start publishing more practical technology articles here on AnishKS.com.
Quick Summary
✅ Installed Corsair DDR5-6000 memory
✅ Windows showed only 4800 MT/s
✅ Couldn’t enter BIOS using Delete/F2
✅ Used Windows Advanced Startup → UEFI Firmware Settings
✅ Enabled XMP 1
✅ Memory now runs at 6000 MT/s
What Is XMP, and Why Is It Important?
XMP stands for Extreme Memory Profile. It is an Intel technology that allows compatible memory modules to run using predefined performance settings stored inside the RAM.
A memory profile can include several settings together:
- Memory frequency or data rate
- Memory timings
- Operating voltage
- Other compatibility-related parameters
Instead of manually entering every value in the BIOS, the user can select an available XMP profile, and the motherboard applies those predefined settings automatically. Intel describes XMP as a method of running compatible DDR4 or DDR5 memory at optimized speeds beyond its standard default settings.
Why Did My DDR5-6000 RAM Run at Only 4800 MT/s?
The 6000 MT/s printed on a RAM package usually represents its rated XMP speed. However, a newly installed memory module may initially operate using a safer standard configuration.
This default configuration is designed to help the system boot reliably across different processors and motherboards. Therefore, even though I had installed a DDR5-6000 module, Windows initially showed a speed of approximately 4800 MT/s.
There was nothing wrong with the memory.
The motherboard was simply using the default memory profile because XMP had not yet been enabled.
What Happens When XMP Is Enabled?
When I selected XMP 1 in the BIOS, the motherboard read the performance profile stored in the RAM and automatically configured the required:
- Memory speed
- Timings
- Voltage
After saving the BIOS settings and restarting the computer, the memory operated at its rated 6000 MT/s speed.
In simple terms:
| XMP Status | Memory Behaviour |
|---|---|
| XMP Disabled | RAM uses a safe default configuration |
| XMP 1 Enabled | RAM uses the manufacturer’s rated performance profile |
| Manual configuration | User individually sets frequency, timings and voltage |
For an ordinary user, selecting the available XMP profile is much easier than manually adjusting each memory setting.
Is XMP the Same as Overclocking?
Technically, enabling XMP is considered memory overclocking, because it runs the RAM beyond its standard default settings. Intel also classifies XMP as an overclocking feature.
However, it is different from manually experimenting with random frequencies or voltages. The XMP values are predefined profiles supplied with compatible memory modules.
That does not mean every XMP configuration is guaranteed to work on every computer. Stability can depend on:
- Processor and its integrated memory controller
- Motherboard support
- BIOS version
- Number of memory modules installed
- RAM capacity and configuration
- Whether the specific memory kit has been tested with the motherboard
My Gigabyte B760M DS3H AX DDR5 officially supports XMP-compatible DDR5 memory modules, making the profile available in its BIOS.
XMP 1 and EXPO 1: Which One Should I Select?
My BIOS displayed both:
- XMP 1
- EXPO 1
Because my system uses an Intel Core i5-14400, I selected XMP 1.
XMP is Intel’s memory-profile technology. EXPO is the corresponding profile system commonly associated with AMD platforms. When both profiles are present, users should normally choose the profile intended for their processor platform.
Is XMP Automatically Enabled?
No. In many systems, XMP is disabled by default.
This is why a PC may start normally but show a lower RAM speed than the number printed on the memory package. The user must enter the BIOS and enable the appropriate profile.
This is also an important check after:
- Building a new PC
- Replacing the motherboard
- Installing new RAM
- Resetting the BIOS
- Clearing CMOS
- Updating or restoring BIOS settings
A BIOS reset can return XMP to Disabled, even if it was previously enabled.
Can Enabling XMP Cause Problems?
Most compatible systems should load the profile and boot normally. However, because XMP is an overclocked memory configuration, occasional instability is possible.
Possible symptoms include:
- PC failing to boot
- Automatic BIOS recovery
- Random restarts
- Application crashes
- Memory-related errors
If that happens, return to the BIOS and disable XMP. The RAM should then return to its safer default configuration. Users should avoid manually increasing memory voltage without understanding the hardware limits.
For my system, XMP 1 worked correctly, and Windows reported the full 6000 MT/s after restarting.
Table of Contents